Asian-Inspired Cabbage and Swiss Chard Salad

Asian-Inspired Cabbage and Swiss Chard Salad

Summer is synonymous with salads, especially this year. Last summer I was only a couple of months into recovering from SIBO. Thusly,  salads or any raw vegetation, was almost out of the question. I pushed it with fruit, a.k.a vegetation candy, and rather regretted it. So this year, since my digestion has been getting better I’ve been partaking almost as much as I’ve wanted. I’ve indulged so much in fact that I actually hit the point where I wanted to try something beyond the normal salad of greens, carrots, cucumber, with mustard dressing.

Along with a desire to expand my salad horizons I’ve been looking for a reason to use purple cabbage. Beyond making sauerkraut of course. Purple cabbage is lovely and it’s becoming more understood that we should eat a variety of colors when it comes to food – #eattherainbow anyone?

This recipe was a happy accident.  It’s the result of leftovers from making another batch of sauerkraut. I had finished salting and squishing my sauerkraut like a good little DIY-fermenter and realized that there was just too much cabbage for my jar. Obviously I couldn’t waste it. Also, as it turns out raw salted cabbage is actually quite delicious and it makes purple cabbage – which isn’t my favorite – much tastier.

I was really feeling the pull make an Asian-inspired salad. However, I wanted to keep it simpler than many recipes I’d seen online which seem to call for ALL the ingredients in your fridge instead of just a couple. In my oppinion salads, especially those based on a recipe, should be simple and easy to remember – even I don’t want to spend a ton of time prepping veggies or continually checking a recipe for accuracy. Also, I prefer salads to not cost prohibitive. Cabbage is seriously cheap and carrots don’t break the bank either. So instead of going through my fridge looking for lots of ingredients to throw together, I looked for just a couple that would compliment cabbage instead of hiding it – which is my first instinct with raw cabbage. Cooked is another tasty treat all together!

Thus was born this super tasty recipe! Depending on the region in which you live you might be able to get these veggies locally – and possibly cheaper – in the spring and summer. But do what you want. I’m pretty sure sometime mid-winter I’m going to get a serious craving for it.

Asian-inspired salad ingredients
The start of something tasty!

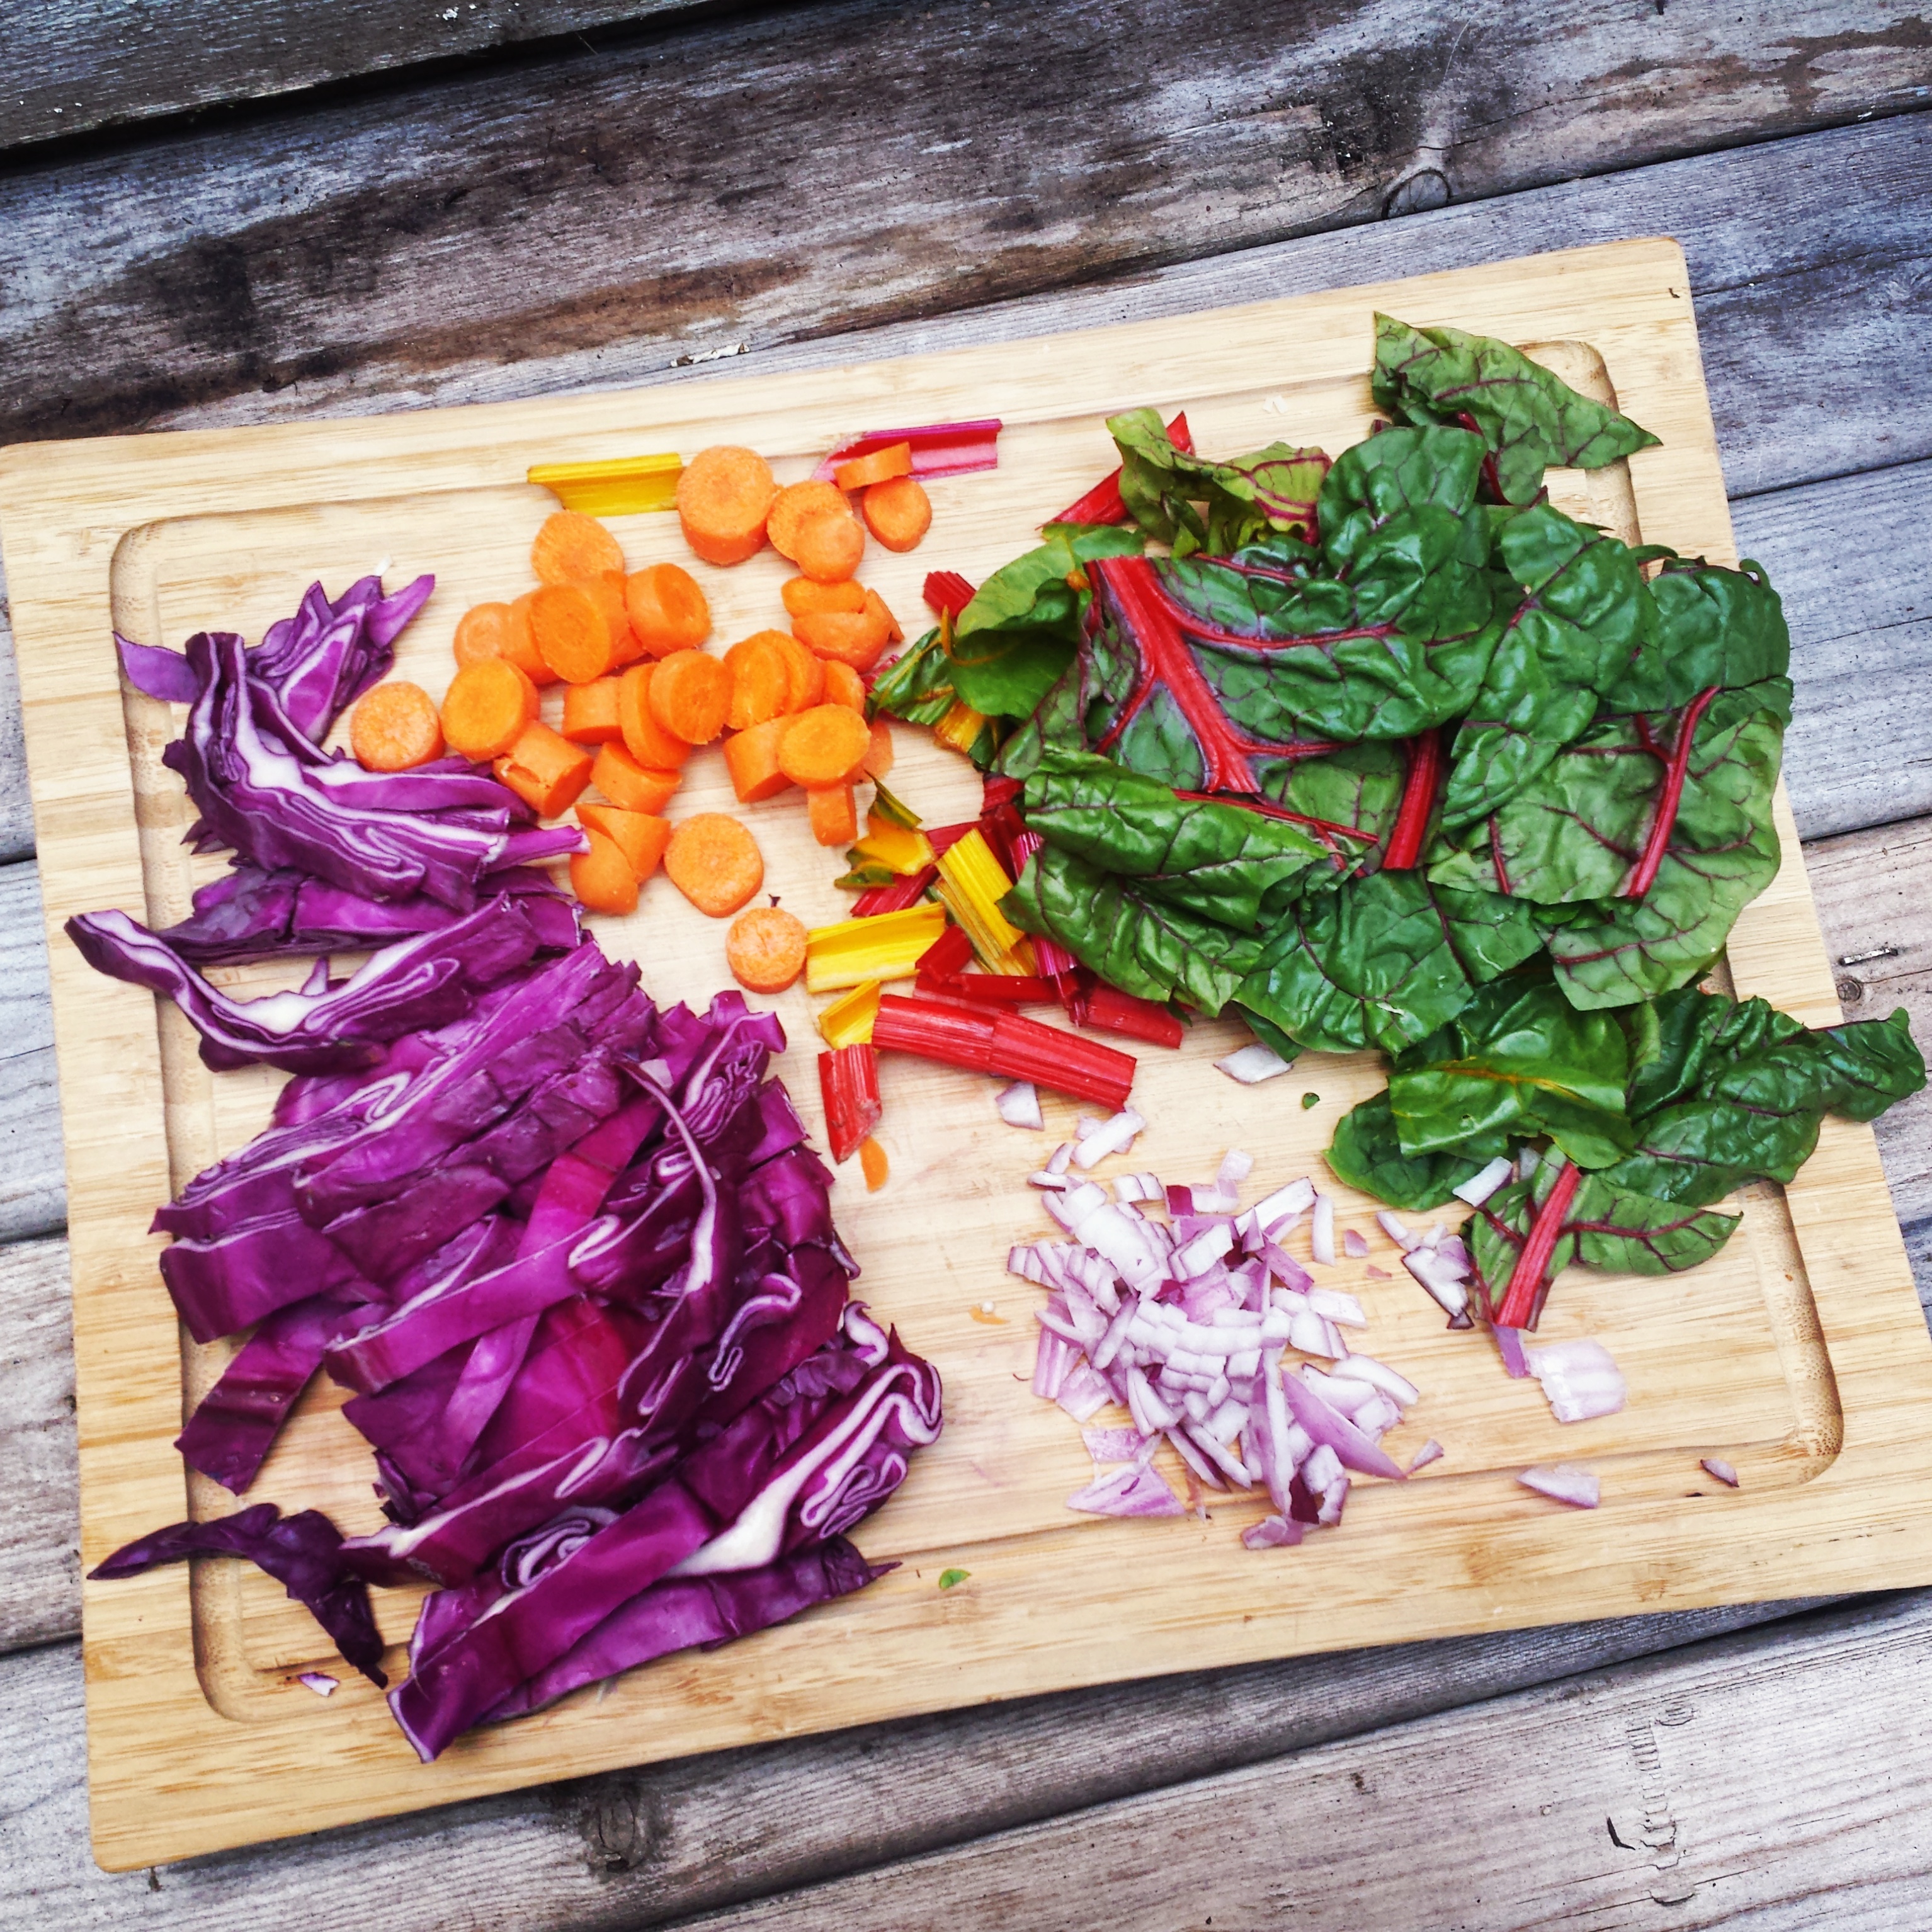
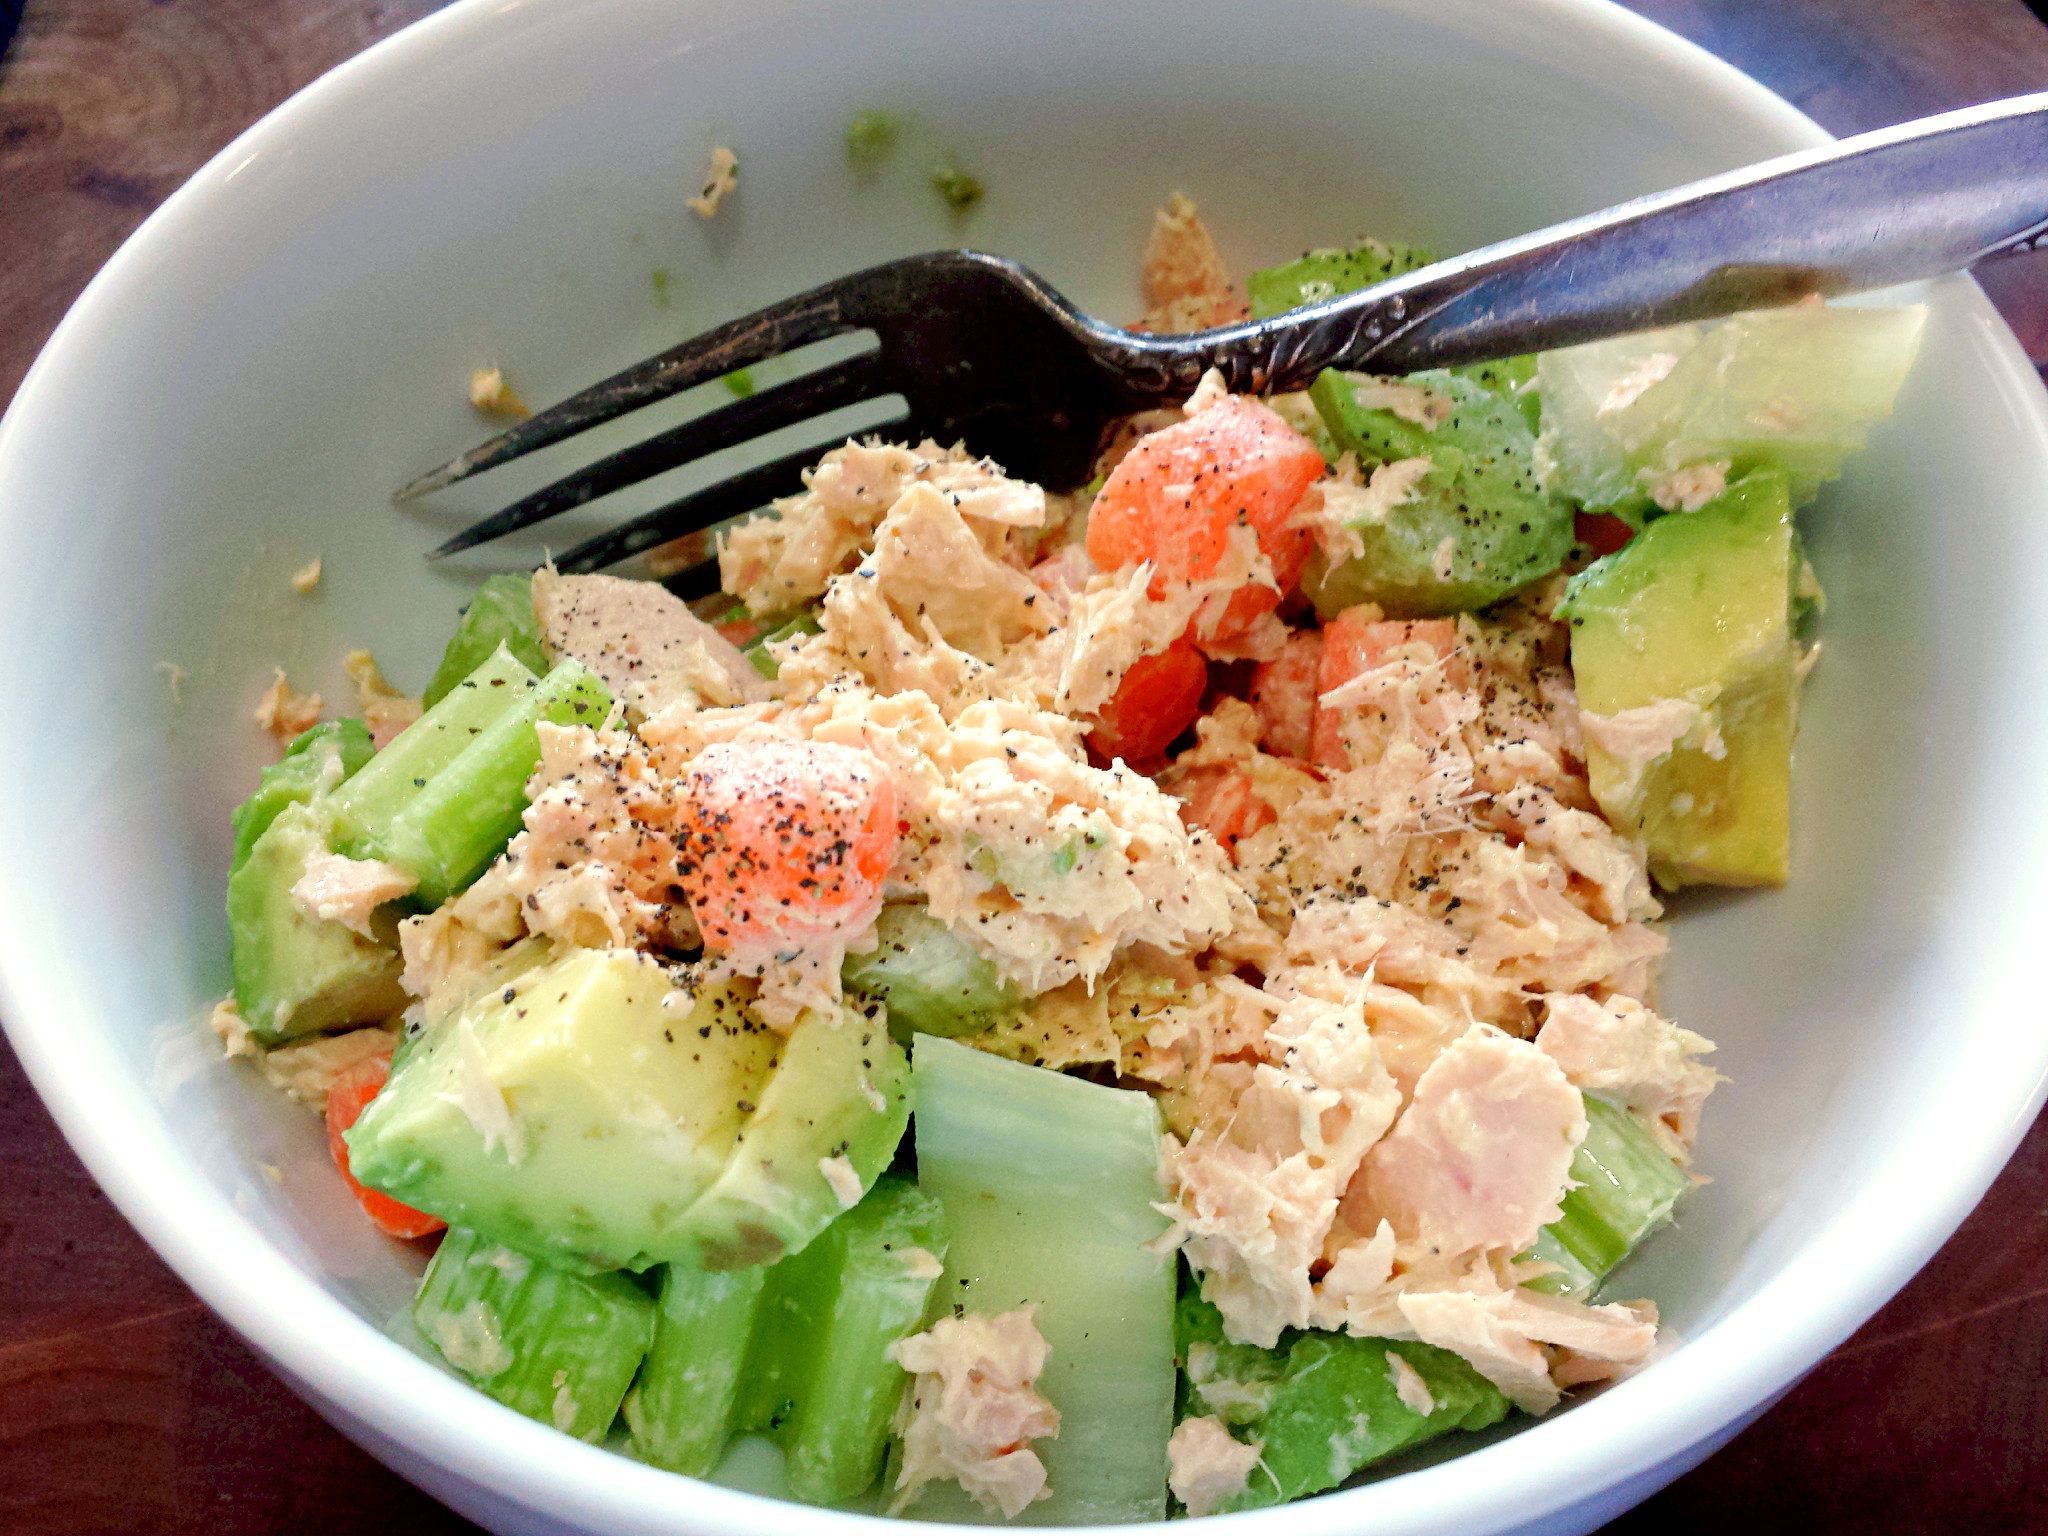
The photo above is actually me just playing around as I was prepping to make the salad. I had no idea I’d actually like it. As such it doesn’t reflect the actual amounts of ingredients in the full recipe. But who doesn’t love veggies photos?

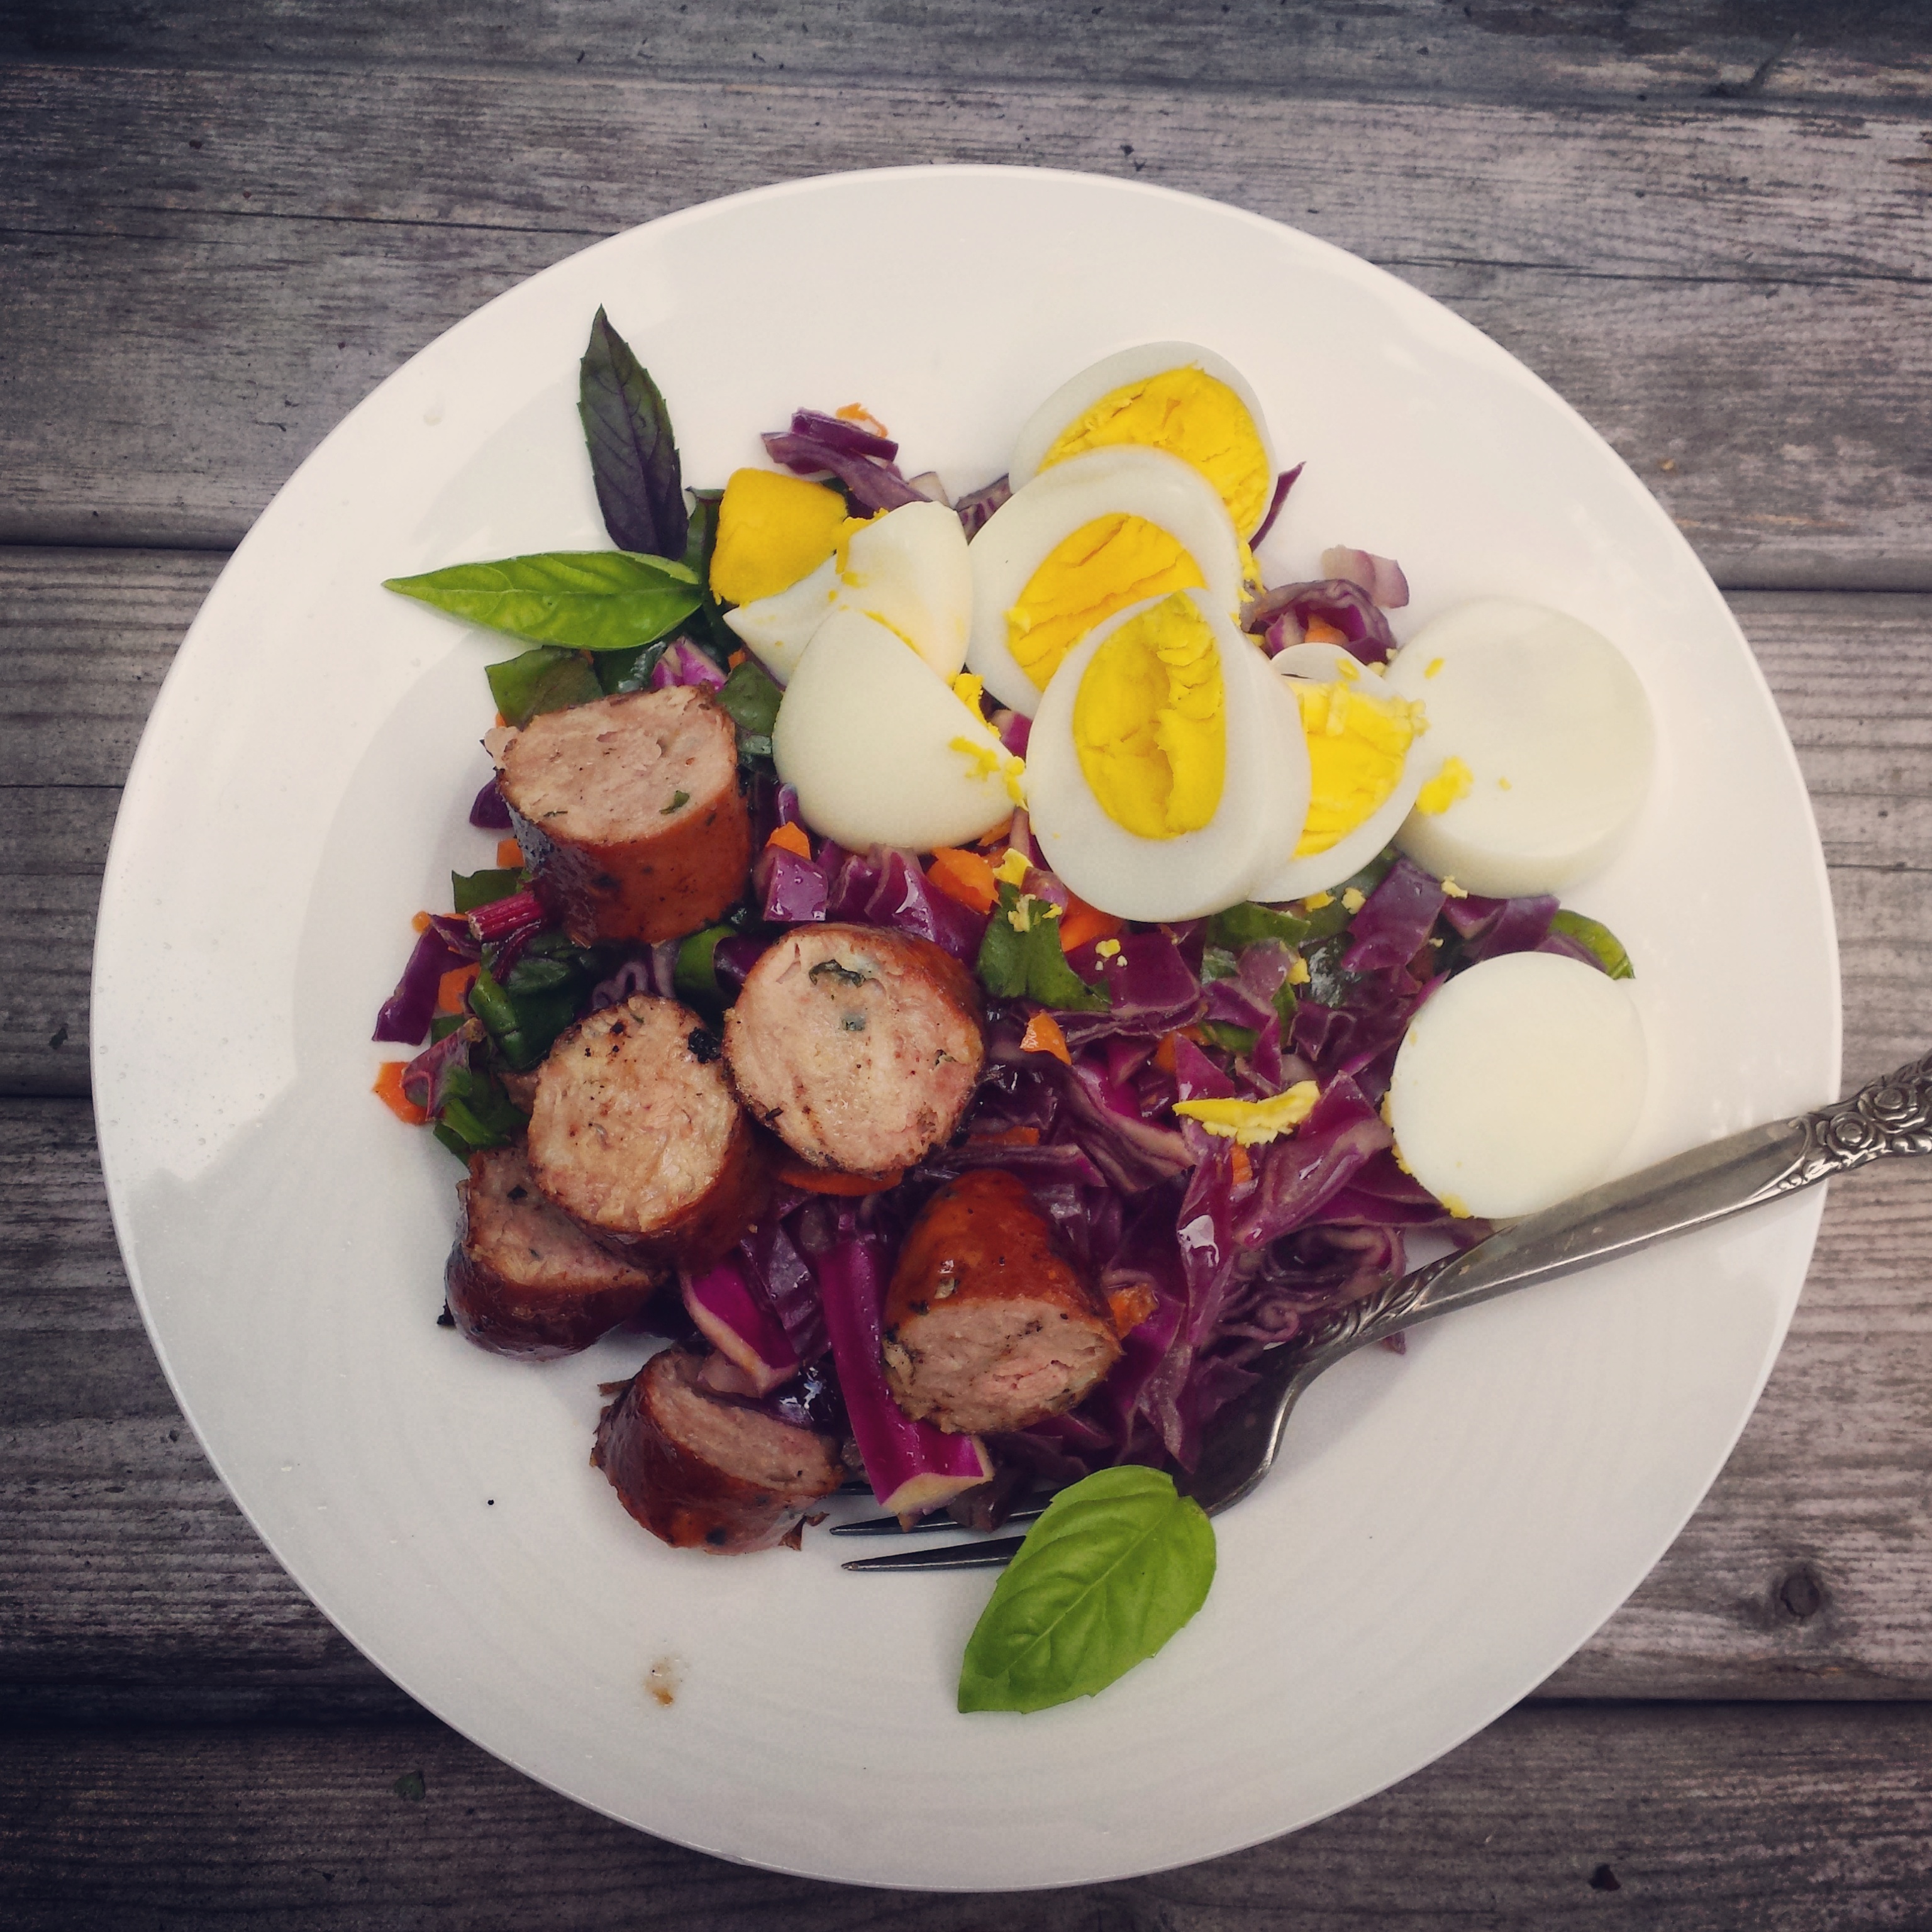
Salads are more versatile than often one thinks. They can make for great for breakfasts, lunches, secondsies, dinners, as main courses, sides, of snacks. One morning for breakfast I used it as a base and simply added two hard-boiled eggs and Trader Joe’s Garlic Herb Chicken Sausage. It would probably work with chicken, pork, or seafood. Tell me if you come up with other ideas for protein sources to build out this colorful salad!


Asian-inspired Cabbage and Swiss Chard Salad with Hard-boiled Eggs and Chicken Sausage

As a final note, if you are having digestive issues, be cautious with any raw vegetables. There is a time and place for them! However, if you are still having a rough time digesting raw vegetation be cautious with this recipe! I speak from experience, it pays to give yourself time to heal.

Asian-Inspired Cabbage and Swiss Chard Salad
Author: 
Recipe type: Salad
Prep time: 
Total time: 
Serves: 4
 
Ingredients
  • 4 cups - purple cabbage, thinly sliced
  • 3 cups - Swiss Chard, chopped
  • ¼ cup - red onion, diced
  • 3 large leaves - basil, diced
  • 3 - large carrots, grated
  • 3 tbsp - coconut aminos
  • 3 tbsp - toasted sesame oil
  • 2-3 pinches - sea salt
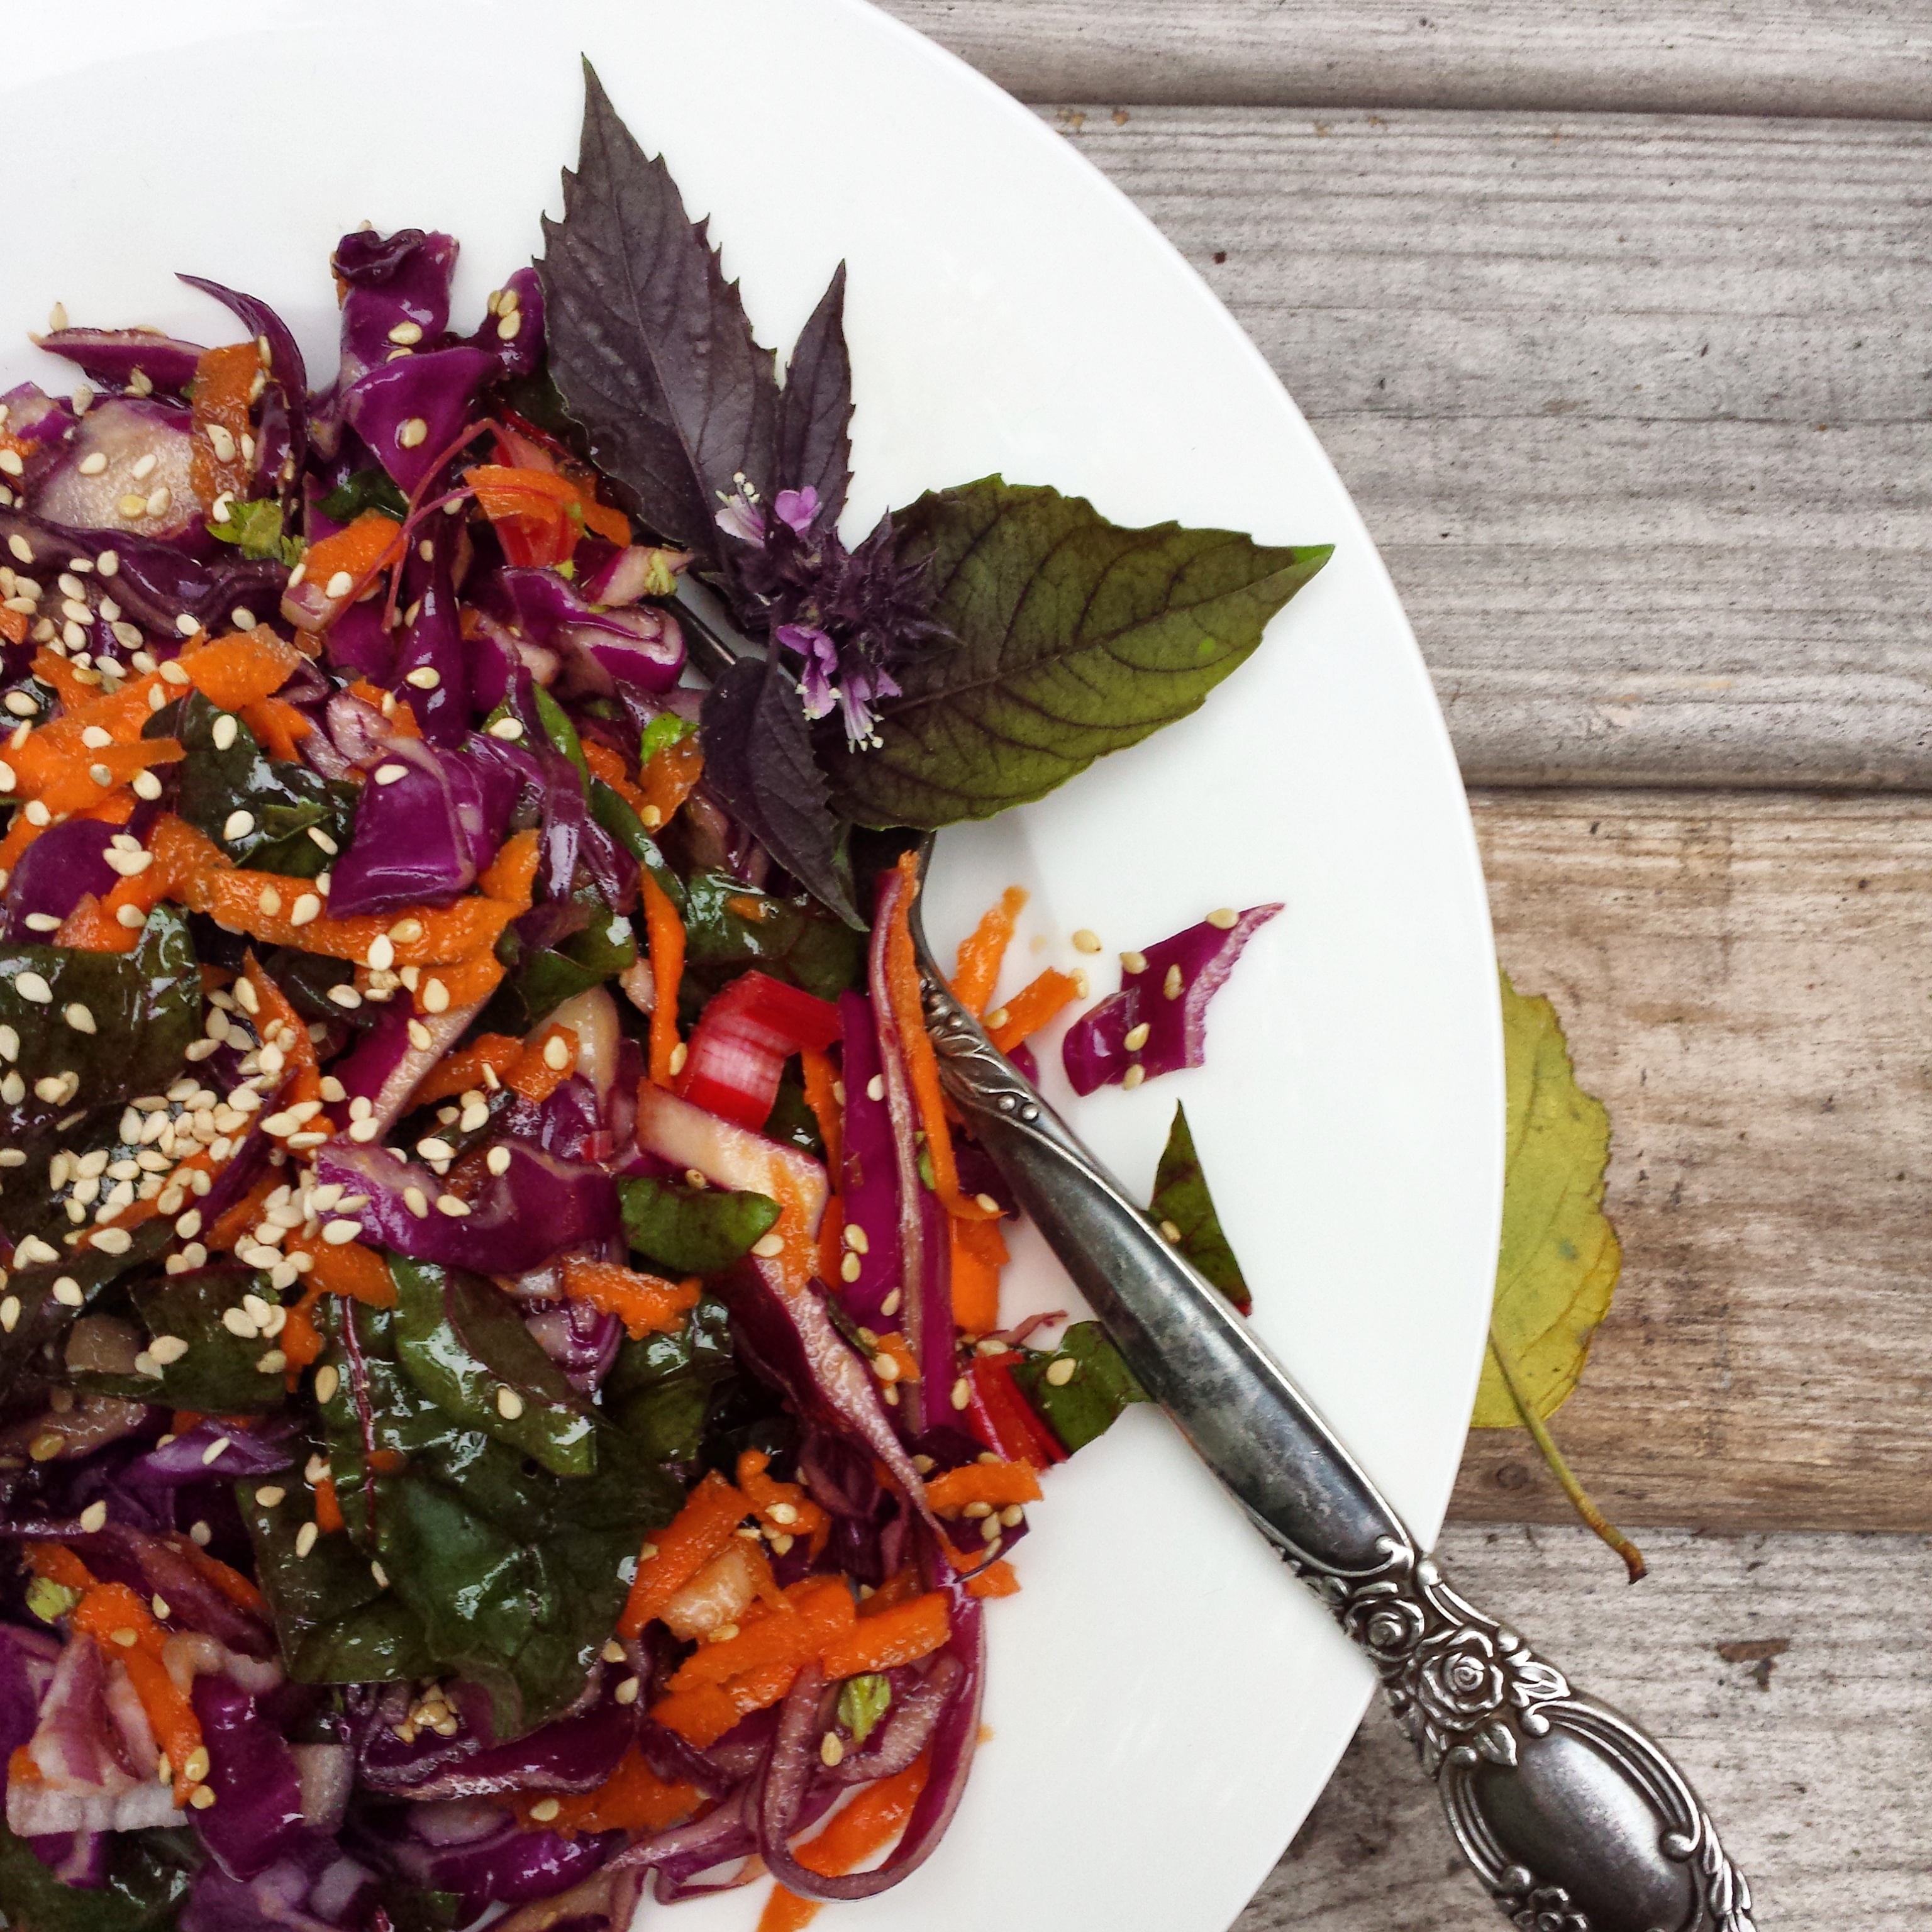
  • 1-2 sprinkles - sesame seeds for garnish
  • Optional: pistachios
Instructions
  1. Prep (chop and dice) veggies and basil
  2. Combine all veggies
  3. Add oil and coconut aminos
  4. Sprinkle with salt and toss to combine
  5. Sprinkle desired amount of sesame seeds
  6. Serve!
Notes
If you'd prefer your cabbage a little softer, slice first and sprinkle with a couple pinches of salt. Give it all a good smashing with your hands/fists - almost like you were going to make sauerkraut. Let sit for up to 15 minutes. Combine the rest of the ingredients. Sometimes I'll prep three cups of cabbage in this way and add the last cup of cabbage at the end for a mix of cabbage textures.

Since I'm not always the tidiest cook sometimes I'll throw all the ingredients into a bowl with a lid and give it a good few shakes instead of "tossing" the salad. Less spillage usually.
 

Asian Inspired Flanken-Style Ribs

Asian Inspired Flanken-Style Ribs

A couple of summers ago we were coordinating a cook-out with my parents. My mom picked up these strange little ribs from their local beef farm stand. The farmer, on being asked for cooking ideas, says she just really enjoys using Asian spices such as soy sauce and grilling them up. Well neither Rick and I nor my mother eat soy, so Mom improvised  and created a tasty, SIBO safe, paleoesque recipe.

What are flanken-style ribs?

According to all-knowing-Google, this style of ribs are commonly used in Korean BBQ, which I thought was interesting. This is probably why I hadn’t had them before as I’ve not had much exposure to Korean cuisine. I love that they are a strip of meat with little riblet bones instead of a larger bulky rib bone. They are cut from the same place as regular, or English ribs. Apparently, flanken-style ribs are more rare to find, unless you are shopping at an Asian grocery store. You can ask your local butcher to cut them flanken-style should you not have that nearby Asian grocer.

The original recipe cooks them over charcoal. However, I don’t have a charcoal grill and only grill for a few months out of the year(we’re just starting grilling weather now). Thus I haven’t tried the cooking times out on our grill. Hopefully, this summer I’ll test it out and update this recipe with the grill specific directions.


Asian Inspired Flanken-Style Ribs
Author: 
Prep time: 
Cook time: 
Total time: 
 
Ingredients
  • 2 lbs Flanken-style ribs
  • 2-3 tbsp coconut aminos
  • ½ cup olive oil or avocado oil
  • 3 cloves minced garlic
  • 2-3 pinches of sea salt
  • Optional: black pepper
Instructions
  1. Start marinating the ribs at least 2 hours prior to cooking, preferably over night.
  2. Combine ribs and all other ingredients into a glass container. If marinating over night put in fridge.Make sure the ribs are thoroughly coated.
  3. Preheat oven to 350
  4. Place ribs on roasting pan or cookie sheet - try not to let them over lap!
  5. Roast on one side for 8 minutes
  6. Turn and finish roasting for 5-8 minutes.
Notes
These are even better if you marinated them about two days. So if you are like me and forget about them for a day, it's a good thing!


adfasdfsdffd

How To Save Terrible Tasting Winter Squash – A Recipe

Nosh Nerd

Every year,  usually at the end of the season, I end up with a winter squash that tastes awful. It’s not moldy, or overly dried out. It just tastes rather bitter instead of sweet and flavorful as most winter squash should taste. For years I thought my only options was give up and throw it away. Not anymore!

For dinner, about a month ago I baked a couple of squashes – one delecata and one carnival. The delecata was amazing as usual. But the carnival tasted wrong, just wrong. Instead of just tossing it I wondered if it might taste better with some savory spices. Using some over-steamed cauliflower (it happens more than I’d like) and some spices I got to testing!


Winter Squash
Winter Squash
How To Save Terrible Tasting Winter Squash
Author: 
Prep time: 
Total time: 
Serves: 4-6
 
Ingredients
  • 2 cups - winter Squash
  • 1 cup - steamed cauliflower
  • ¼ cup - Coconut milk
  • 1 tsp - frontier curry seasoning(you can use another brand of curry seasoning if you'd like)
  • or a combination of the following
  • ¼ tsp cumin, ¼ tsp coriander, ¼ tsp black pepper, ¼ tsp of turmeric, pinch of ground fenugreek - grind in spice grinder or mortar and pestal
  • Salt & pepper to taste
Instructions
  1. If squash is hot let cool
  2. Blend squash in blender or food processor
  3. Blend steamed cauliflower into squash
  4. Add coconut milk, seasonings, and salt and pepper to the squash cauliflower mix
  5. Warm and serve!
Notes
This recipe can also work if your cauliflower was over steamed and you have regular tasting squash on hand. Repurpose, don't waste!
If anyone has questions about what to do with “ruined” or crumby tasting vegetables, or fruits and veggies past their prime let me know. I might have a solution already. Alternatively, I’d be happy to test some recipes out!

Beef Stock – Reuse those bones!

Nosh Nerd

Beef stock. I’m getting good at this one. My stock now feels as though it can finally pull a dish together. I’ve got the time down – 30 hours. If I put too much water in it, I just off set the lid for a little while and it will condense. Even my “seconds” beef stock is awesome.

Let’s talk about secondsies, and maybe even thirdsies.

There are plenty of directions out there for making the first round of broth. Check out here and here, both are great! But what I want to draw attention to is re-using those bones. Yes, seconds won’t be as decadent a broth, but waste not, want not(clearly, I’m an 80 year old woman). Beyond not wasting the bones for monetary reasons, I think the animals that become our food deserve the respect we can show them by not wasting their lives. Don’t waste their meat and offal. Use the bones until they don’t make a proper broth anymore!

It should be noted that not all bones are created equal. I’m not just speaking about factory farmed animals, but also the species of bones you use. For instance, chicken bones don’t always last to make a second batch. If you shoot for the 20-24 hour mark for making chicken stock like I do, the bones start to crumble into almost nothing. They just don’t last beyond that. Beef bones on the other hand are great for making a second and sometimes a third batch of broth. Use your own judgment as to when the bones are really, really done.

When and how to start

Once you have finished making your first batch of beef bone broth you can jump right into making the second batch, or you can freeze the bones for use later. Normally, I do the latter, because I get bored easily and need to switch up the proteins and types of meals. Either way, give the bones a good poke and toss the ones that are starting to get too crumbly. Some bones break down faster and won’t contribute much in the way of deliciousness.


Beef Stock


Beef Stock Seconds
Author: 
Recipe type: Beef Broth - Secondsies
Prep time: 
Cook time: 
Total time: 
Serves: 2 quarts
 
Ingredients
  • Mix of beef bones - saved from previous batch of bone broth
  • Enough water to cover bones
  • 2 tbsp of apple cider vinegar
Instructions
  1. Place bones in slow cooker
  2. Add enough water to just cover the bones
  3. Add cider vinegar - or sub another acid - I've used lemon juice in a pinch
  4. Turn the slow cooker on low and set for the longest time option - mine goes only to 10 hours, I simply reset it a couple of times over about 30 hours. It's perfectly safe to let it go up to 48 hours.
  5. Optional: if you use veggies to flavor the broth, put them in when there are about 6 total hours left. If you use herbs wait until the last hour to half hour of cook time, otherwise the broth will end up tasting bitter.
Notes
I've heard that if you let the bones sit in water for an hour with your acid of choice that it helps to draw out more minerals from the bones. I have not tasted a difference or seen data supporting this which is why I don't recommend it. If you have data to share supporting this please do!
 

Storing Secondsies

You can freeze the broth for later use. Make sure to label it with the date and the type of broth! I’ve made that mistake too often thinking I was defrosting a veggie broth and it turned out to be beef stock. If you are a canner, go ahead and can that shish! Or you can stick it in the fridge and it will last about a week, which is what I usually do. Dating and labeling fridge bound broth is a good idea as well for obvious reasons. I’ve “lost” stock in the fridge and didn’t find it again for a couple of weeks or longer. Wasted broth makes me super sad.

Using Your Tasty Broth

In case you are wondering how to use this stock beyond just making soup, here are a few of the ways I use mine:

  • Added to a sauce such as spaghetti – let it condense while cooking so that it’s not too watery.
  • To create a sauce – deglaze a pan you’ve just cooked a similar protein in add seasonings and voila! you have a tasty sauce for your protein or vegetable dish.
  • Broth for braising – I do a lot of cooking with cheaper cuts of meat because if done well they are amazing and it saves mulah. Check out my Beef Shanks Slow Cooker Recipe.
  • Drinking – on occasion I’ll just chop some green onions and season broth to drink, especially if I’m fighting something off. To be fair, it’s not my favorite thing but whatever.

Tuna Salad

Tuna Salad with paleo mayo, baby carrots, and celery, in a white bowl.

I love to cook, it’s like making a crafty-thing that you can eat! Several months back I was looking at where all my time was being spent. Not surprising, a lot of it was spent in the kitchen. I was – and still am to a point – one of those people who worked all day and then came home and played in the kitchen for 1-2 hours at the end of the night. Sometimes it was perfect because that’s what I wanted to do. But when I hit my busy season last year – August to December – I had much less free time and thus developed an appreciation of quicker meals. Also in early winter late fall I started to be able to incorporate more physical activity outside of work (massage). I needed meals that were not only easy to prepare, but rich in protein and fat. Fat’s the bomb.

Enter tuna! Canned tuna specifically. Sure canned tuna isn’t really exciting. But it’s easy. And it’s uniform. No need to hem and hah over whether or not the extra 1/3 pound of whatever protein will ruin a recipe. A can of tuna is basically the same no matter what brand. And yes, tuna is low in fat, but that’s what home-made paleonnaise is for!


Tuna Salad
Author: 
Recipe type: Salad
Prep time: 
Total time: 
Serves: 2
 
Ingredients
  • 1 can of tuna
  • 2 tbsp of paleo mayonaise a.k.a paleonnaise
  • 2 stocks of celery
  • 4 ounces of baby carrots or approximately 14 baby carrots
  • salt and pepper to taste
Instructions
  1. Chop celery and carrots, set aside
  2. Drain can of tuna
  3. Mix tuna and mayonaise
  4. Add celery and carrots
  5. Salt and pepper to taste
  6. Enjoy!
Notes
I'm a fan of lots of paleo mayonnaise with my tuna, but if you prefer less than use less. Also, this is 21DSD compliant!
 

How To Live Without Coffee – Or How To Make Great Tea

Nosh Nerd

I love coffee, LOVE coffee. Unfortunately, it’s not very nice to my body. Instead of being all depressed about it, last year I started to experiment with making my own coffee replacement. I’ve tried lots of faux coffees. Some of them are delicious, some are not. Many of them use chicory root which is quite tasty. Unfortunately, while I’m following a GAPs/paleo diet it’s not “legal.” It’s the FOMAP issue, my poor gut is too delicate for those fermentable carbs. Other coffee replacements are too “herby” or just too light in general. They are fine as proper teas and I’ll drink them but they don’t work as a coffee replacement. I want my faux coffee to be earthy, dark, slightly bitter, with good body. It also has to mix well with coconut milk because I always had my coffee with some sort of non-dairy milk.

It took months, and I actually put the idea on the back burner for quite awhile until one day my little gray cells had an epiphany! A friend makes a delicious tea as a coffee replacement. I drank it before I got my SIBO diagnosis. However, it too included roasted chicory. “But” I wondered, “is there a way to live without the chicory and create a similar darker flavor without tasting like dirt.” There was, the secret was cinnamon, and a teeny bit of vanilla.

Tea, coconut milk, cinnamon, prepped in cup for immersion blender
Tea in the immersion blender cup, getting ready to be awesome.

Now, this is not coffee, it’s only a sort of replacement. But as someone who has missed the dark gritty, almost campfire-like, taste of a dark roast, I’m willing to compromise.

Mug of tea  with a spoon, with coconut milk, and a sprinkle of cinnamon


Oh So Tasty Not-Coffee Substitute
Author: 
Recipe type: Drinks
Prep time: 
Cook time: 
Total time: 
Serves: 4
 
Ingredients
  • 1 tbsp - Roasted Dandelion Root
  • 1 tbsp - Cinnamon Chips
  • 1 tbsp - Red Rooibos Tea
  • ½ tbsp - Orange Peel
  • ½ pinch - Vanilla Powder
  • 5 cups - water
  • Coconut milk - or milk substitute of choice
  • Optional: ground cinnamon
Instructions
  1. Mix dry ingredients in a separate container, set aside
  2. Add water to sauce pan bring to boil
  3. Add dry ingredients to water
  4. Cover and turn down temperature (at this point I usually put my electric stove on medium low)
  5. Let it simmer/steep for 20 minutes
  6. Strain into large jar
  7. Choose your favorite cup for drinking tea or coffee - I use a 12 ounce pint jar with a handle
  8. Pour desired amount of tea into cup or jar, leaving room for coconut milk
  9. IF blending with milk substitute, add desired amount coconut milk to cup
  10. Pour combined tea and coconut milk into a 30 ounce immersion blender cup - or other immersion blender safe tall walled container
  11. Blend for 10-20 seconds with immersion blender.
  12. Pour back into your cup, sprinkle with cinnamon if desired, and enjoy!
  13. Save the remaining tea for later by putting into a glass container and put in fridge. Should last about a week
Notes
It's perfectly fine to combine some of the steps for making the tea. I typed out the extra steps for those of us who make mistakes the first time we follow a recipe and measure out too much of anything. Feel free to toss the dry ingredients right on into the water before it's warm. Just remember to turn it down and cover it while it simmers!

This recipe is based on creating a drink with the tea and coconut milk that is about 12 ounces. As such there should be enough tea made for approximately four servings. How much you end up with depends on how much your tea steams(or how much steam escapes from under the lid) while it is simmering. Add more water if you don't think there is enough, or if you want your tea less strong.


Minced Garlic and Onion “Crusted” Chicken

Nosh Nerd

This recipe was born from my love of chicken and a desire for a tasty recipe that takes almost no effort. Also, I use this as a multi-meal recipe, because leftovers are king for us busy people.

Garlic And Onion "Crusted" Baked Chicken

Minced Garlic and Onion "Crusted" Chicken
Author: 
Recipe type: Paleo - Multi-Meal
Prep time: 
Cook time: 
Total time: 
Serves: 4-8
 
Minced Garlic and Onion "Crusted" Baked Chicken
Ingredients
  • 2-4 lbs - Chicken legs or a combination of legs and thighs, or legs and breasts - skin on
  • 1-2 tbsp - Cooking fat of choice - avocado, coconut, or olive oil
  • 1-2 tbsp - Dried minced garlic
  • 1-2 tbsp - Dried minced onion
  • Pinch of salt and pepper
  • Optional: ½ tsp of paprika
Instructions
  1. Heat oven to 300 degrees
  2. If using coconut oil melt in warming oven
  3. Pull chicken out of packets
  4. Place chicken pieces in glass baking dish skin up - I often use my 9x13 dish
  5. Pour cooking fat over chicken - use fingers or a basting brush to distribute over all the pieces
  6. Sprinkle the minced garlic and onion over chicken
  7. Put in warmed oven
  8. Check at 45 minutes cooking time.
  9. Dish is done when largest piece of chicken is at 165 degrees
  10. Eat the crap out of it!
Notes
I consider this a multi-meal-recipe. Having left overs makes life so much easier during the work week. However, you can cut this recipe down by half or more and only do 1-2 lbs of chicken legs instead.

Also, try not to be impatient if you think the recipe is taking longer than the prescribed time. I've given a lower oven temperature so that the minced garlic and onions don't burn. They will BURN if you turn it up too close to 350. Longer cooking times can occur depending on your oven, how cold the chicken was when you put it in the oven, how big the chicken pieces are, etc.
 

SIBO Recovery – 4+ Months In

Nosh Nerd

It’s the end of September the Pacific Northwest. It’s slightly cooler in the evenings, though only slightly – this autumn is starting off much warmer than usual. Yours truly survived the summer doing low-ish carb/paleo/GAPS, trying to rest, not eat too much fruit(this wasn’t always successful), and in general soak up the sun. It’s been approximately 150 days since I started GAPS and got treatment for SIBO. Overall, I’ve been progressively feeling better. However, while I did make progress I certainly wasn’t perfect the whole time. I found that if I go too long without bone broth it appears to negatively affect my digestion and my general well-being. Chewing food well is important – who knew! Eating too fast is a problem for me, especially when stressed. And finally the sad news, nuts and most fruit does not like me at all. Nuts disrupt digestion and fruit is still too sugary. Anyway, on to progress, regress, and whatnot.

Progress:

I no longer look like I’m pregnant after every meal or for hours and even days after specific meals. My cystic acne cleared up – scars are healing well! Post workout I heal so much faster. I can evven push myself during my workouts without a huge backlash. Gone are the days of constant pain and inflammation! My clothes fit better. I’ve lost some weight – though I started to gain some back probably some muscle and some water/fat from too much fruit and summer baked foods. Across the board I have more energy, sleep better, handle certainly stressors better. I found myself physically capable of working more – though maybe not mentally. (Close to 20 hours of massage in a week is a bit too much!) The bumps on my arms, which I believe are keratosis pilaris, have improved a lot. Also, I don’t feel so old anymore – which is nice because I’m only 30. Overall, I feel better than I have my entire adult life!


Improvements Needed:

However, I’m not going to lie, summer was hard for me. There was delicious fruit everywhere. I’m a sucker for berries, peaches and more. In fact, this summer my issues with sweets came to light even more. An amazing blackberry coconut crisp in August led me down the path of blood sugar roller coaster rides. Well maybe it was all the fruit and coconut based breads that I made right around that time as well. Either way, I felt like I lost control – again. Until about the end of summer I had done well being low carb paleo since early this year. But it’s hard especially when healthier naturally sweet foods are readily available. I was careful not to binge on foods I couldn’t eat, but those that I could justify consuming definitely were eaten in excess(my excess is less than many people’s. Daily and even weekly fruit is a problem for me). Along with the unbalanced blood sugar came the annoying symptoms such as nausea, crashing 1-2 hours post sweet treat, moodiness, and tiredness.  I have been making strides to decrease my carbs but feel that I still need some guidance and structure. This is why I’m headed toward my first 21 Day Sugar Detox. I’m excited – a little apprehensive – but I’ll be glad to see what comes of it.


Looking Forward:

I’ll be refocusing, doing a 21 Day Sugar Detox, and in general settling down into a slightly slower pace for autumn. I am frustrated that I can’t eat much or any fruit. Apparently, I need more time  away from “sugars”. Also, I’m forcing myself to think about what might also be a possibility – that my tolerance might always be crazy low. Sometimes this thought makes me sad, sometimes not. What matters right now is that I soldier on. Being a healthcare provider – I understand that healing can take a lot longer than preferred. So cheers for progress made so far and for the good things to come!


Dijon Mustard Salad Dressing

Nosh Nerd

There are f20150112_102701
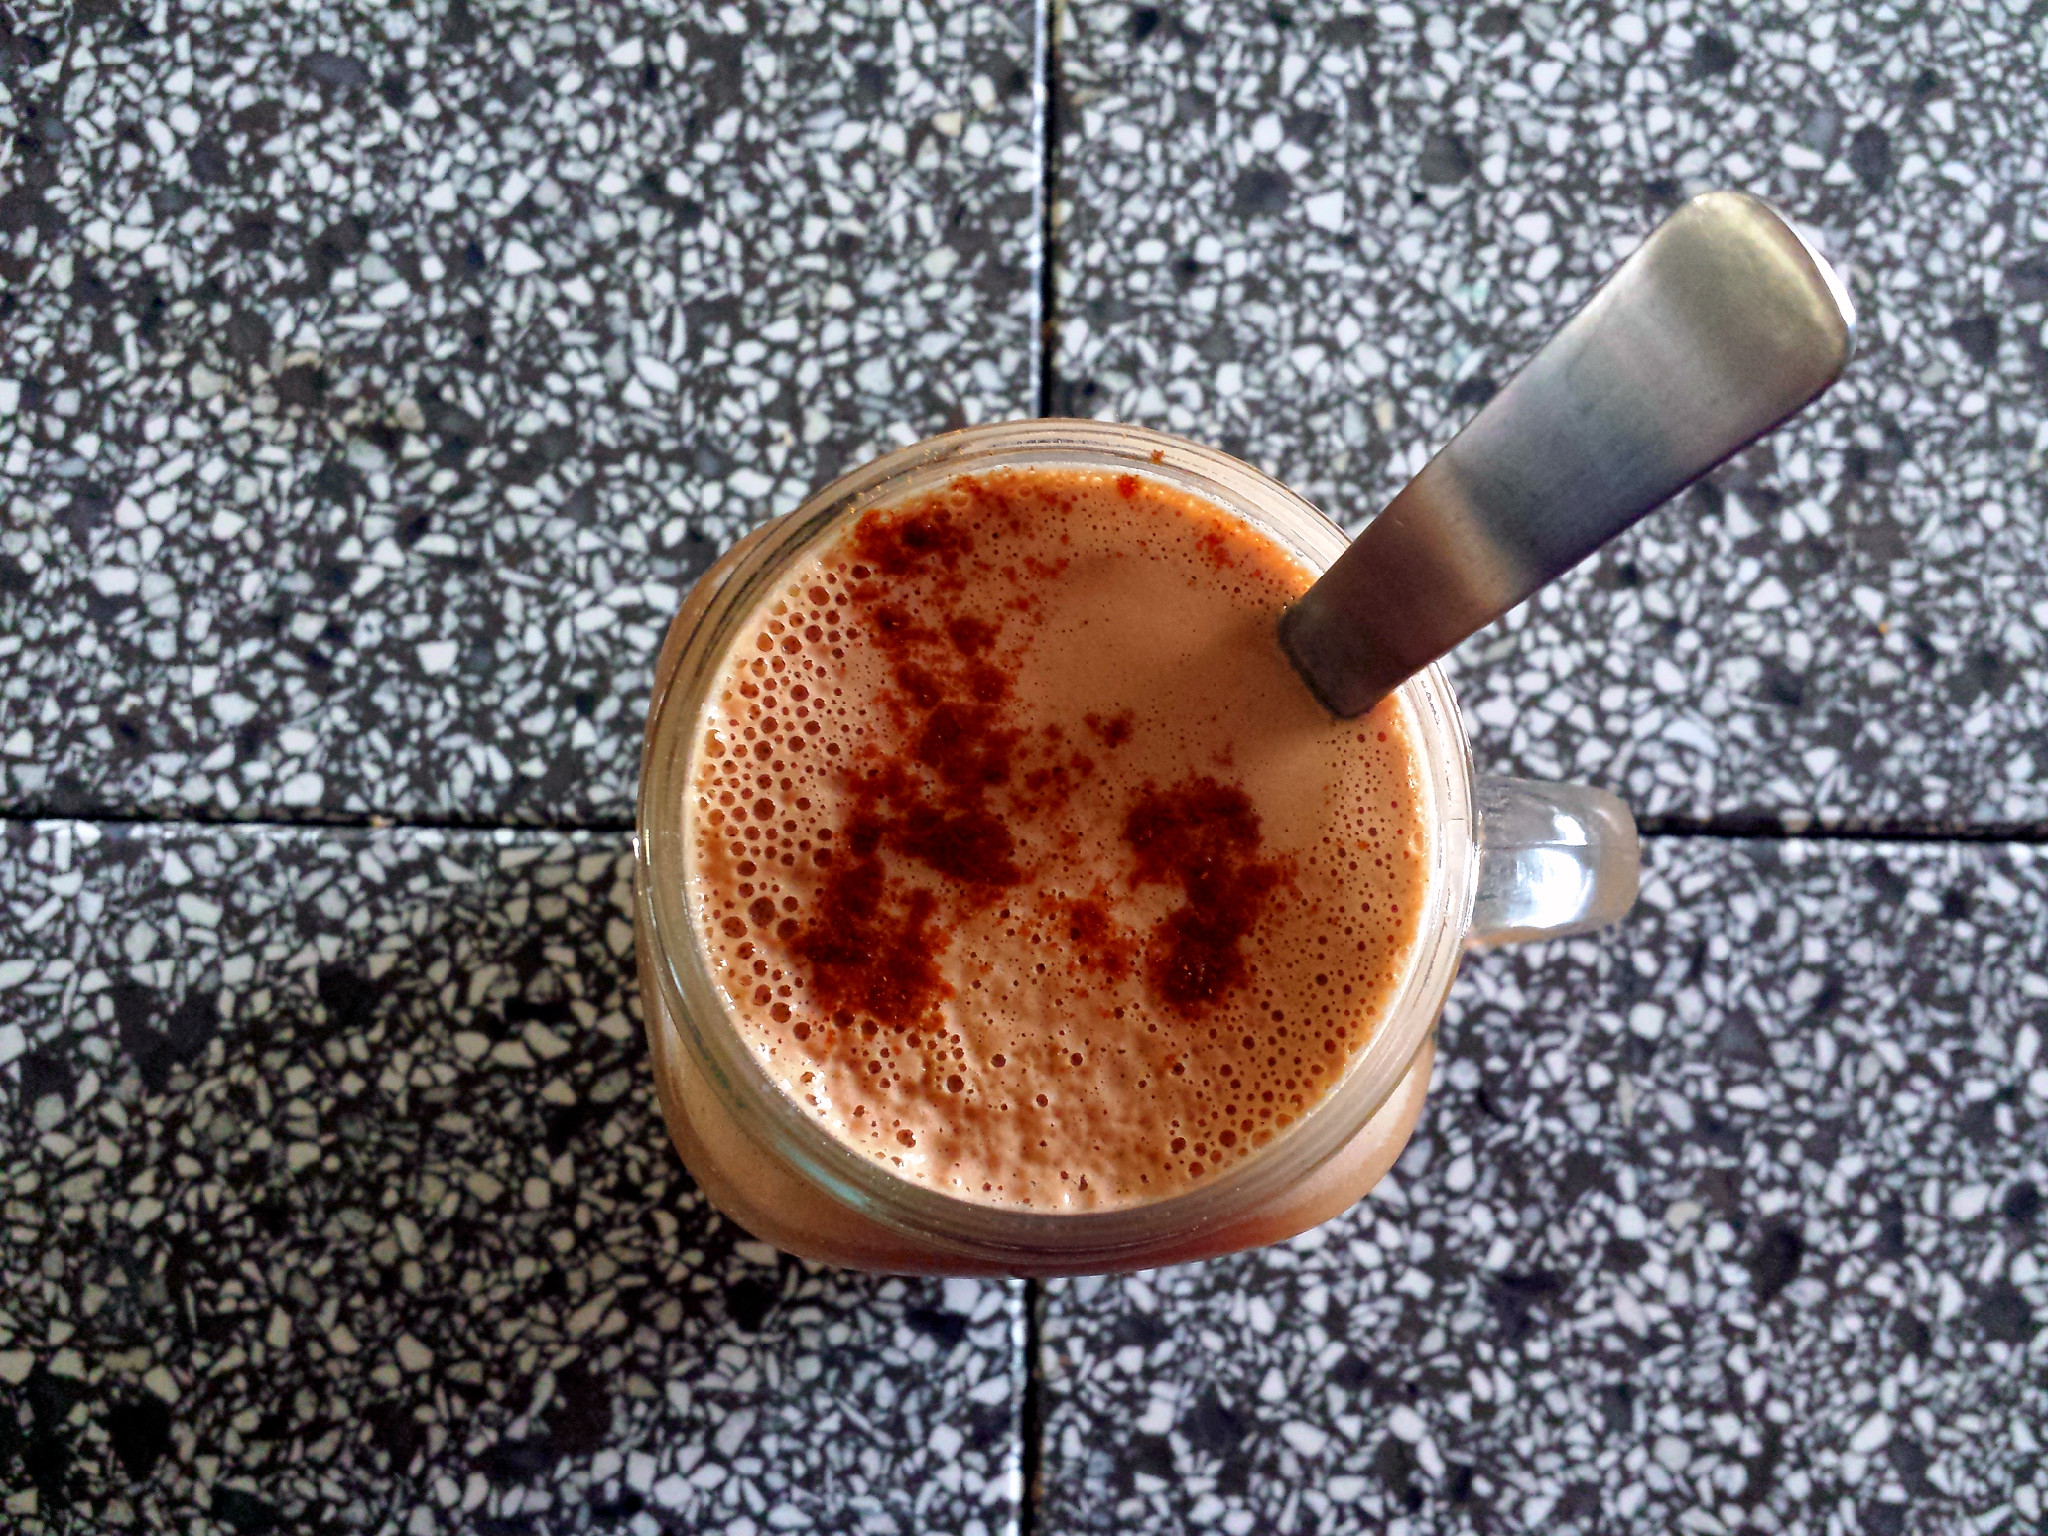
ew things better than a totally awesome salad dressing to go with your totally awesome salad. This dressing is so great that it can even turn a boring salad into something fantastic. Or if you don’t like salad and sort of have to make yourself eat it, then this dressing should make that experience better – maybe even enjoyable. Basically, best dressing ever.

I’ve used it as my standard potluck dressing for a couple of years. Everyone loves it, unless they don’t like mustard of course. It’s so easy to make it’s embarrassing. Seriously, why pay $4 a bottle for organic-paleo salad dressing? Nothing against store-bought dressings but I don’t want to have to budget for mine, or ration it either.


Dijon Mustard Salad Dressing
Author: 
Recipe type: Dressing
Prep time: 
Total time: 
Serves: lots
 
Dijon Mustard Salad Dressing
Ingredients
  • ½ cup - Organic Apple cider vinegar
  • ½ cup - Olive oil
  • 3 tsp - Natural Value Organic Dijon Mustard
Instructions
  1. Pour all ingredients into a bowl or salad dressing container with a lid and mix well or shake well.
  2. It's so silly how easy it is!
Notes
I save specific kinds of containers, such as the glass coconut vinegar or coconut aminos containers to use for salad dressings. They usually have a pour spout and a lid and will hold up for a long time. But you can use whatever you have on hand!